How to Edit Drone Photos in Lightroom? Mastering Photo Editing in Lightroom

Drone photography is a great way to capture stunning aerial images. However, even the best drone photos can benefit from some editing in Lightroom.
In this article, I will show you how to import your drone photos into Lightroom, adjust the exposure, contrast, and color, use Lightroom presets, create panoramic or HDR photos, and export your edited photos.
I will also answer some important FAQs about editing drone photos in Lightroom. By the end of this article, you will be able to edit your drone photos like a pro! and your question this question will be answered: How to Edit Drone Photos in Lightroom?
key Takeaways
- Import drone photos into Lightroom for professional editing.
- Adjust exposure, contrast, and color to enhance image quality.
- Utilize Lightroom presets to simplify photo enhancement.
- Create stunning panoramas and HDR photos with Lightroom.
- Easily export edited drone photos for sharing and showcasing.
- Shoot drone photos in RAW format for maximum flexibility.
- Organize your drone photos efficiently within Lightroom.
- Craft your own Lightroom presets for a unique style.
- Use Lightroom tools to enhance sharpness and clarity.
- Share your edited drone photos to inspire and connect with others.
How do I import my drone photos into Lightroom?
To get your drone pics into Lightroom, just follow these simple steps to have your awesome aerial shots all set for some editing fun:
Launch Lightroom: First things first, open up Adobe Lightroom on your computer. If you don’t have it yet, no worries, you can grab it from the Adobe website and install it.
Catalog Time (Optional): Lightroom likes to keep things tidy with catalogs. You can create a fresh one for your drone shots or use an existing catalog if you’ve got one.
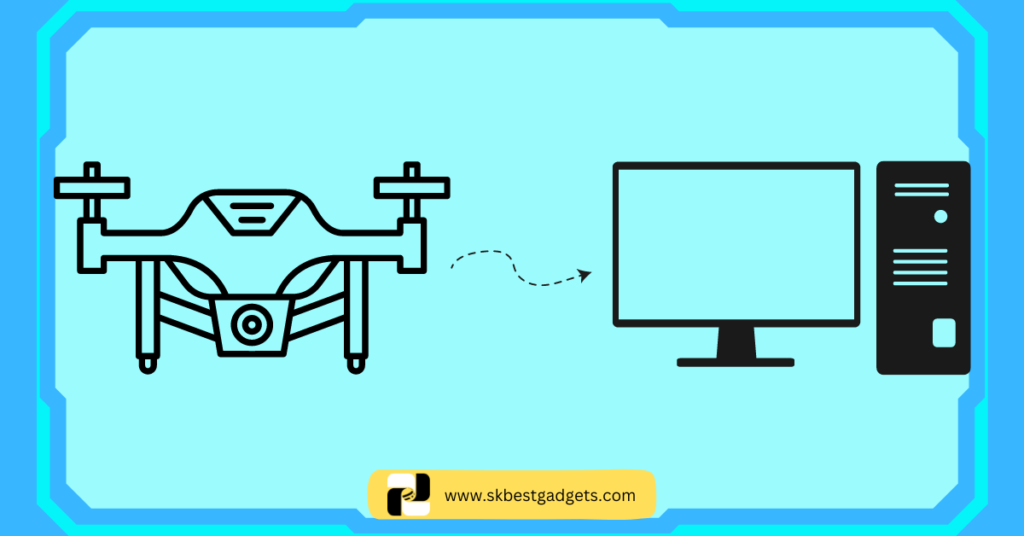
Link Up with Your Drone: Make sure your computer can access your drone’s memory card. You can do this by plugging in your drone directly or using a card reader.
Let’s Import: Head to the “Library” module in Lightroom. Down in the lower left, you’ll spot the “Import” button. Give it a click.
Pick Your Source: A window will pop up with import options. On the left, you’ll find your sources. Find your drone’s memory card or the folder with your drone pics and select it.
Preview and Choose: Lightroom will show you tiny versions of your pics. You can pick and choose the ones you want to bring in. If you’re feeling lazy, hit the “Check All” box up top to select ’em all.
Import Settings: Over on the right, you can tweak some import settings. Stuff like where to copy the pics, how to organize ’em, and whether to use presets during import. Make these choices based on your style.
Hit That Import Button: Once you’ve made your picks, click the “Import” button in the bottom right.
Time to Wait: Lightroom will work its magic and bring in your selected drone pics. You’ll see the progress up in the top-left.

Library Lovin’: After the import, check out your pics in the Library module. They’ll be sorted just like you set in your import settings.
Boom! Your drone shots are now in Lightroom, ready for some editing action. Time to tweak exposure, add some pop to those colors, and make your aerial shots shine. Lightroom’s got the tools to turn you into a photo-editing pro!
READ MORE: 🚀 How to Fly a Drone? (A Comprehensive Guide)
How do I adjust the exposure, contrast, and color of my drone photos in Lightroom?
Adjusting the exposure, contrast, and color of your drone photos in Lightroom is a great way to enhance the quality of your images. Here are some steps you can follow to achieve this:
Start with a clean file: Before you begin editing, make sure that your drone photo is shot with good technique. This includes selecting the right shutter speed, focus point, and aperture.
For example, when there’s no wind and your drone is hovering in place, shutter speeds longer than one second can be feasible on some drones.

Shoot in RAW: Shooting in RAW format will give you more control over the editing process as it contains more information about color and exposure. With a RAW file, you can recover shadows, change white balance, and make sharpening/noise reduction edits more easily.
Use Lightroom’s Basic Panel: In Lightroom’s Develop module, you can use the Basic panel to adjust the exposure, contrast, and color of your drone photo.
Use the Exposure slider to adjust the overall brightness of the image. The Contrast slider can be used to increase or decrease the difference between the light and dark areas of the photo. To adjust the color, use the Temperature and Tint sliders to change the white balance of the image.
Use Lightroom’s Tone Curve Panel: The Tone Curve panel in Lightroom allows you to make more precise adjustments to the exposure and contrast of your drone photo. You can use the sliders in this panel to adjust the highlights, shadows, whites, and blacks in your image.

Use Lightroom’s HSL Panel: The HSL (Hue, Saturation, Luminance) panel in Lightroom allows you to make targeted adjustments to the color of your drone photo. You can use the sliders in this panel to adjust the hue, saturation, and luminance of individual colors in your image.
By following these steps, you can effectively adjust the exposure, contrast, and color of your drone photos in Lightroom to enhance their quality.
READ MORE: 🚀 How to Get the Best Photos With the DJI Mini 2?
How do I use Lightroom presets for my drone photos?
Want to make your drone photos pop without the fuss? Lightroom presets have your back! Check out this simple guide:
Find Your Preset: Start by picking or creating a Lightroom drone preset that matches your style and vibes. You can snag some online or craft your own by tinkering with Lightroom’s Develop settings and saving them as a preset.
Apply the Magic: Once you’ve got your hands on a sweet preset, slap it onto your drone pic. In the Library module, select your photo, hit up the Presets panel in the Develop module, and choose your preset from the list.

Fine-Tune the Fun: After the preset’s done its thing, you might want to tweak stuff to nail that perfect look. Lightroom’s got loads of editing tools, like the Basic panel, Tone Curve panel, and HSL panel, to help you fine-tune exposure, contrast, and color.
Save the Awesomeness: When you’re satisfied with your masterpiece, save it! Click the Export button in the Library module, pick your file format, quality, and where to save it.
Voila! Lightroom presets make jazzing up your drone pics a breeze and give your shots that consistent wow factor.
How do I create a panoramic or HDR drone photo in Lightroom?
Want to whip up an epic panoramic or HDR drone photo in Lightroom? No worries, here’s the lowdown:
Pick Your Pics: First things first, in good ol’ Lightroom Classic, choose the photos you want to turn into a panoramic or HDR masterpiece. For regular shots, go to Photo > Photo Merge > Panorama, or simply press Ctrl (Win) / Control (Mac) + M to blend them into a panoramic delight. If you’ve got some exposure-bracketed shots, go for Photo > Photo Merge > HDR Panorama to create an HDR panorama that’ll blow your mind.
Peek at Your Pic: Once you’re in the Photo Merge menu, Lightroom will show you a sneak peek of your soon-to-be panoramic or HDR wonder. Use this sneak peek to tweak anything you fancy before the final magic happens.

Pick Your Style: In the Panorama Merge Preview / HDR Panorama Merge Preview box, choose the layout style that vibes best with your image. You’ve got options like Spherical, Perspective, or Cylindrical to play around with.
Warp It Up: Lastly, don’t forget the Boundary Warp slider. It’s your buddy for bending that panoramic or HDR image to fill your canvas to the brim. This way, you can keep all the good stuff at the edges instead of losing it to cropping.
With these steps, you’ll be churning out epic shots like a pro in no time!
READ MORE: 🚀 Are Drones Good for Night Photography?
How do I export my edited drone photos from Lightroom?
Exporting your edited drone photos from Lightroom is a breeze. Here’s how you can do it:
Pick Your Pics: Open up Lightroom and find the photos you want to export. You can select more than one by holding down “Ctrl” (Windows) or “Command” (Mac) while clicking on them.
Choose Where to Store: Click on the “File” menu or hit “Ctrl+Shift+E” (Windows) or “Command+Shift+E” (Mac) to open the Export dialog box. In the Export Location part, decide where you want to stash your photos – your computer or an external drive, your call.
Select Your Style: In the File Settings section, decide on a file format for your exported pics, like JPEG or TIFF. You can also tweak things like color space, quality, and size if you want.

Name Those Files: In the File Naming part, you get to decide how your exported files should be named. You can give them a custom name, add a sequence number, or just keep the original file name.
Save Your Settings: If you plan to use these export settings again, save them as a preset. Just hit the “Add” button in the Presets section, give it a name, and click “Create.”
Let the Export Begin: Click on “Export,” and Lightroom will work its magic. It’ll create new files with your chosen settings and put them where you told it to.
And there you have it! You’ve successfully exported your drone photos. Easy peasy!
Important FAQs
What is the recommended file format for drone photos when importing them into Lightroom?
Can I create my own Lightroom presets for drone photos, and how do I do it?
Are there specific settings in Lightroom for enhancing the sharpness of drone photos?
What is the advantage of shooting drone photos in RAW format over JPEG?
How can I ensure that my drone photos are properly organized within Lightroom?
What are some tips for selecting the best Lightroom preset for my drone photos?
Can I edit panoramic or HDR drone photos in Lightroom, and what are the advantages of doing so?
How can I effectively share my edited drone photos with others after exporting them from Lightroom?
Final Thoughts
In the world of drone photography, the sky is not the limit; it’s just the beginning. As we’ve explored in this guide, Adobe Lightroom can be your trusty co-pilot in elevating your drone photos from good to breathtaking.
From importing your aerial captures to mastering exposure, contrast, and color, Lightroom empowers you to unleash your creativity.
Lightroom presets are like secret weapons in your photography arsenal, ready to add that extra flair with a simple click. And when it’s time to go big with panoramic or HDR shots, Lightroom’s got your back.
But remember, the journey doesn’t end with editing. It continues when you share your stunning drone photos with the world. Your artistry deserves an audience, and your knowledge can inspire others.
Share Your Creations: We’d love to see your edited drone photos! Share your masterpieces in the comments below. Let’s inspire each other and build a community of passionate drone photography enthusiasts.
Spread the Knowledge: If you found this guide helpful, don’t keep it to yourself. Share it with your fellow drone enthusiasts, photographers, and anyone eager to take their aerial photography to new heights.
Thank you for joining us on this journey to unlock the full potential of your drone photography. Remember, the sky’s not the limit; it’s just the beginning. Happy editing, and may your drone photos always soar!
Watch This Video For Better Understanding:
How to Download Photos & Videos From DJI Drones? (2023)
Want to grab epic pics and vids from your DJI drone? 📸🚁 This article’s got the 411 on downloading ’em in 2023! Don’t miss out! 📥🎉

